Fix the Night Lights performance issue in Windows 11

Windows 11 comes with a feature called Night Light that helps protect your eyes from constant exposure to blue light, especially in dark or dimly lit rooms, which leads to less eye strain.
Although this feature is useful. But a lot of users have reported issues with the way it works in Windows 11. The feature does not work well when sleep mode is enabled and appears as a sharp gray color that is not working.
Fixing Night Lights performance issue in Windows 11
Verify that the feature is turned on
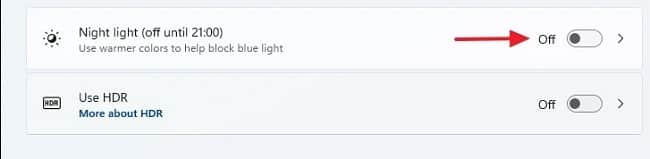
Before proceeding to fix any problems related to night lighting in Windows 11 computer, you should make sure that the feature is turned on. To do this, follow these steps:
- Click on the Start button and then click on the Settings tab in the Installed apps section.
- Within the System Settings page, click on the View option on the right side.

- On the next screen, select the Night light option on the left side.
- Toggle the button next to the night light option on the right to the on position.
Adjust date and time settings for Windows 11 computer
You should make sure that the automatic date and time settings are correct in the Windows 11 computer. An error in the date and time leads to the feature being disabled or working incorrectly.
Turn on location services
The Night Light feature relies on the computer’s location services service to work effectively. This is to determine the time of sunset and sunrise.
Turning on location services may help fix the problem with the night light on. To do this, follow these steps:
- Select the Privacy and security option on the left side of the Settings screen.
- On the next screen, under the App Permissions section, tap on the Location option.
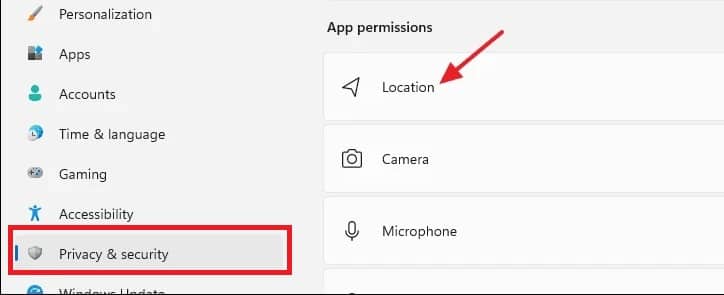
- Toggle the button next to the Location Services option to On.

Reinstall the display driver
You can also update the display driver manually to fix issues with the Night Light feature. To do this, follow these steps:
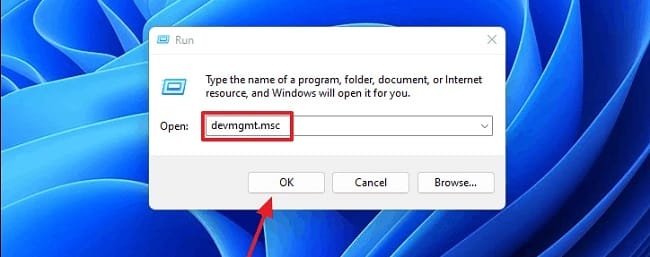
- Press the Windows + R buttons on your keyboard to launch the Run app.
- In the popup, type devmgmt.msc and press ENTER.
- Click on the Display adapters option and then right-click on the option that appears below it.
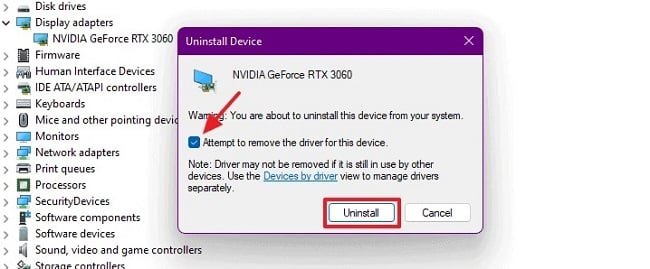
- From the menu that pops up select the Uninstall device option.

- In the window that appears, check the box next to the option to try to remove the driver software for this device, and then click on the Uninstall option.
- Reboot the computer and then let Windows 11 automatically install a new display driver.
Use a third-party app
If you are unable to solve the night light problem in Windows 11 computer after applying the previous solutions. It is better to turn off the feature and wait until you do a company Microsoft fixes the feature.
And in case you are very keen on using the feature, you can use a third party app. andOne of the best apps is an app F.lux Which acts as a color filter for the screen in order to reduce the amount of blue light to reduce eye strain.
Read also: How to use the voice typing feature in Windows 11